Podcasting Essentials Part 1: Equipment
Author: Eoghan Colgan @Eoghan_Colgan
Date 28/2/18
I want to start by saying that I do not consider myself a podcasting expert by any means. By the time this blog goes out we will have released maybe 6 or 7 episodes. But I’ve done enough to feel comfortable with the process and I’m close enough to the beginning that I recall in detail all of the challenges when starting out.
A few important points before we begin:
There is probably an infinite number ways to ‘do podcasting’ – an unlimited combination of microphones, audio-interfaces, recording software, hosting sites etc. It can be quite daunting at the beginning and if you go googling you will discover a lot of different opinions.
The content is the most important thing in a podcast but poor audio quality can be very distracting (and ruin a good show). There are affordable options but it’s worth spending a little money on quality tools if it helps deliver your message more effectively.
Podcasting does take a lot of time and effort so factor that in before you begin. There is no point buying lots of equipment then realizing you just don’t have the time. There are a number of additional time-consuming steps before your episode can be released:
Researching the content for your show (guest research etc)
Designing your artwork
The recording itself (including travel and set-up time)
THE EDITING: highlighted because this can take a lot more time than is first appreciated (one well-known critical care podcaster spends 10 hours on average editing a single episode – but it can be done in less)
But equally – you can get going with a fairly simple knowledge of the equipment and process. Don’t be put off at first by how daunting it all seems. A lot of the kit/software is designed for more complicated purposes but you only need a rudimentary understanding of the basics to create something perfectly acceptable.
Focus on capturing great quality audio at the beginning. It’s hard to fix all the problems in the editing phase.
Ideally record in a small quiet room with a carpet which will help capture a tight, studio-like sound. Bigger rooms have more echo/reverb which is impossible to remove later.
So this is not the ‘best way to do it’. This is simply my approach and I have added in some alternative options at each step. But feel free to do your own research to find the set-up that suits your needs.
EQUIPMENT
These are the basic essentials:
Microphone
In an ideal world you should try out a number of microphones to test which one suits your voice best. But there are a number of microphones that come highly recommended for the majority of people.
In short – there are two types of microphones (condenser and dynamic) and debate rages about which is superior. My personal preference is dynamic which is less sensitive (so you need to speak closer to the mic) but this means less background noise is recorded which is extremely helpful if you don’t have a studio booth (which few do). They also tend to be more rugged.
Here is a link to some of the best choices on the market:
https://www.thepodcasthost.com/equipment/the-best-podcasting-microphones-on-the-market/

Rode Procaster
Another consideration is whether to plug the microphone straight into the computer (some have a USB connector) or not. I prefer not to as you can get a better sound by putting the microphone through an audio interface (see later), but this does add some expense.
My microphones:

Shure Beta 57a
Rode Procaster (which I use for the guest)
Shure beta 57a – my old singing mic and has proved an excellent podcasting mic too
(Ed: Bet you didn't know our Eoghan was a famous singer in a previous life..... sorry Eoghan I couldn't resist!)
Eoghan Colgan- Dream Satellite
Pop Shield
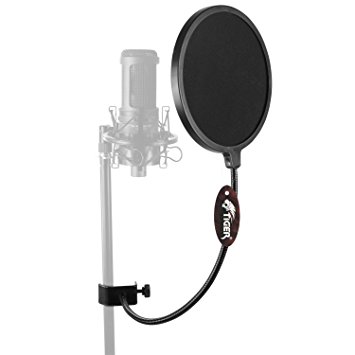
Pop Shield
Consanants such as ‘B’s and ‘P’s can force air into the microphone and cause ‘plosives’ which are an unwanted ‘popping’ sound in your recording. If you hold the palm of your hand an inch from your face and say ‘Peter Piper Picked a Peck of Pickled Peppers’ you will feel each plosive on your hand. A very cheap way to reduce these is to buy a pop shield which attaches to the mic stand and sits between mic and speaker. They also protect the microphone from speaker saliva!!
They are extremely worth their small price tag.
One example would be:
Microphone Cables

XLR-to-XLR mic cable
These are required to connect the microphone to the audio interface (see later). You will need an XLR to XLR microphone cable for each microphone. These do not need to be that expensive but a decent quality will last longer.
A reasonable option would be https://www.amazon.co.uk/Stagg-High-Quality-Microphone-Cable/dp/B002YUAK54/ref=sr_1_4?ie=UTF8&qid=1513777010&sr=8-4&keywords=xlr+cable
Audio Interface
Essentially the audio interface is a bridge between the microphone and your computer. It converts the analogue, audio signal to a digital signal. They usually have better sound-cards than the internal sound-card on your computer so you can capture a better, richer and warmer tone. In essence they just sound way better than recording straight into the computer.
The microphone will connect to the audio interface via an XLR-to-XLR cable. Then the audio interface connects to the computer via the USB connector cable supplied with the product.
Here is a list of the best budget versions: http://www.musicradar.com/news/tech/the-best-budget-usb-audio-interfaces-in-the-world-today-570850
My personal choice is the Audient ID14 which was recommended to me by my old studio engineer:
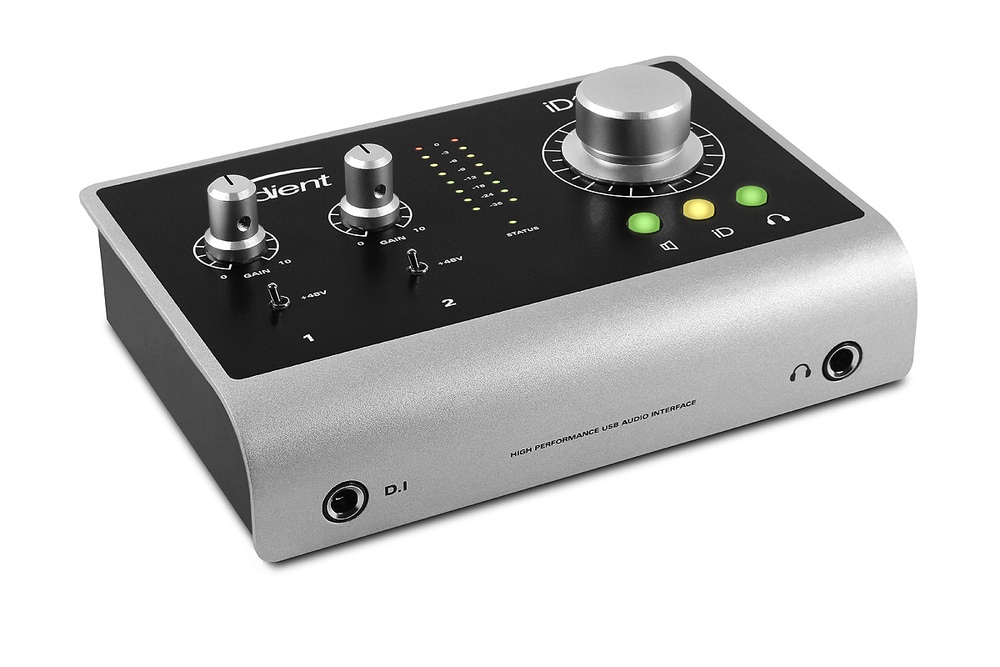
Pros:
Great sound
Easy to use
Small and light so reasonably versatile
Rugged (as far as I can tell)
Cons:
Only has two mic inputs (so will need another option if recording more voices at once)
Needs to be connected to a computer to capture the recording (see handy recorders below)

Zoom H6
Decide on where you will be recording and how many voices you need to record at each interview. This will guide which audio interface you require. If you plan to do mobile recording then you may prefer a ‘handy recorder’. These are mobile recording devices that can capture the recording direct to the machine so you do not require your computer at the time of the interview. The recordings can then be later downloaded to the computer for editing at a more convenient time. These are also probably the best all-round version which can essentially do both options.
Probably the best known is the Zoom H6 Handy Recorder (which I have recently purchased but not yet used)
https://www.amazon.co.uk/Zoom-H6-Handy-Recorder/dp/B00E0HAQOE
Other options can be found here: https://www.thepodcasthost.com/equipment/best-digital-podcast-recorders/

Sony MDR-7506
Headphones
Headphones allow you to cancel out environmental noise so you can focus on the quality of the recording. No need to break the bank but a decent set will allow you to pick out any issues which are best sorted before recording rather than trying to fix later. It is optional to have a pair for the interviewee (some like using and some don’t).
What I use:
Sony MDR-7506 for me

Audio-Technica ATH-MX30
Audio-Technica ATH-MX30 for guest
Please note that the Audient ID14 interface has one microphone output socket so I require a splitter to allow both headphones to be connected.

Headphone Splitter
An example splitter would be: https://www.amazon.co.uk/gp/product/B01MXRRS4D/ref=oh_aui_search_detailpage?ie=UTF8&psc=1
Recording/Editing Software
You will require a piece of computer software that can capture the recording and allow editing (tidying the tracks, adding music/jungles, adjusting the volume and quality of the recording etc). This is the time consuming part of podcasting so best to get a decent package up front and get familiar with it.
These are often software packages that studio engineers use to record full bands and orchestras so they have lots of bells and whistles (and can feel very intimidating) but we only need to know the very basics for podcasting. So don’t get put off at first.
Probably the best overall package is ‘Audacity’ which is an open-source package and can be downloaded for free at http://www.audacityteam.org. It has all the functionality you will need for great sounding podcasts.
There are lots of other packages including Garageband (mac users) and various professional packages such as Pro Logic and Adobe Audition.
My personal choice is Cubase LE because it came free with my audio interface (audiente id14). Otherwise I would have chosen audacity.
Miscellaneous Others
Extras which I use include:

Rode Procaster within a shock-mount
· Microphone stand for each speaker (something that holds microphone steady for the user)
· A Shock Mount which helps to cancel out some mechanical vibrations – I use this for the rode procaster but not for the Shure SM57a mic
So that is the basic essentials necessary to capture some great recordings. In the next instalment I will talk about how to edit the recordings and prepare them for broadcast.